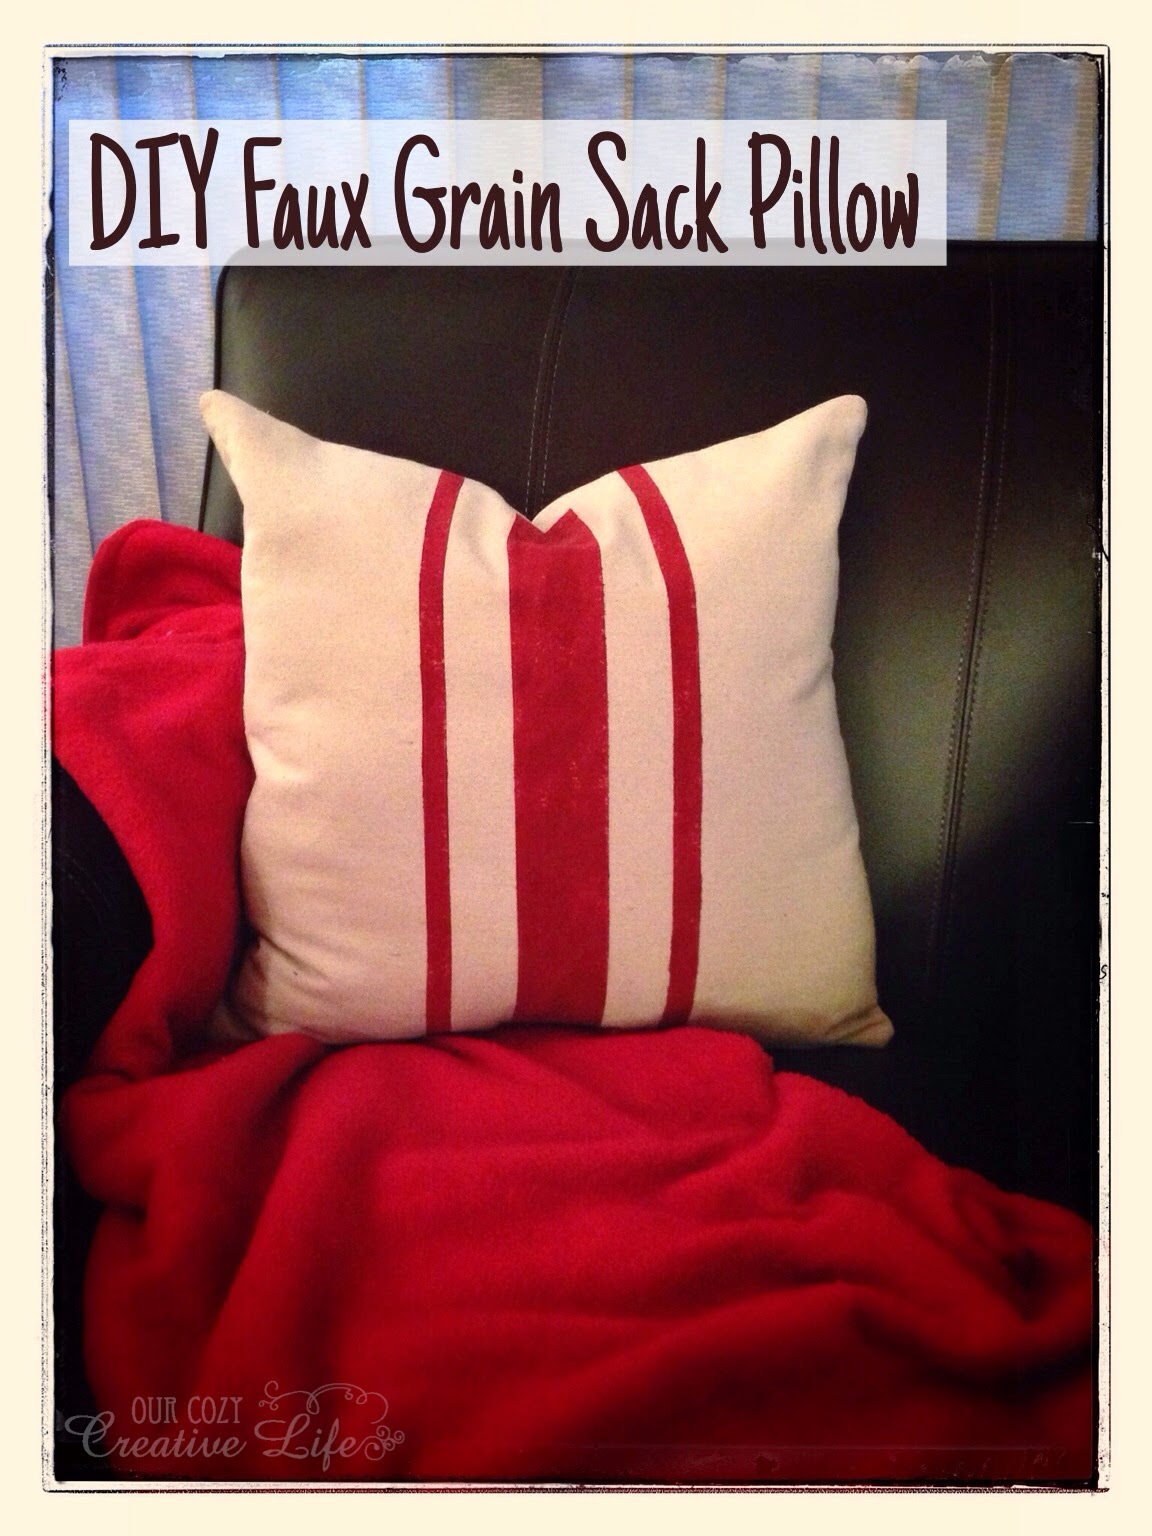
I love the look of grain sack pillows. I have looked high and low, but they could be rather expensive. Hubby and I are saving to buy a house so I am doing my best to stay within a budget (not always easy). Imagine my delight when I came across some ways to create faux grain sacks. Most were surprisingly easy, some were no sew and others required minimal sewing techniques.
Here is my take on making an easy sew faux grain sack pillow. And if I can do this, so can you. If you could ask my mom if I have a lot of sewing experience she would tell you that growing up I was the queen of the safety pin. I avoided sewing like the plague.
I purchased a painters drop cloth from my local Home Depot. It has that canvas look to it. The size I purchased was 4 ft x 15 ft. There are others sizes to choose from.
I first washed and dried the drop cloth; this makes it much softer and easier to work with (just avoid the fabric softener, it can hinder the application of the paint). I folded the drop cloth so I can cut 2 panels at one time. I cut a 19" x 38" then cut that in half to 19" x 19". I plan to make an 18" pillow so I cut the material at 19" (this leaves a 1/2" for sewing).
I ironed the fabric to take out all the wrinkles.
Using Frog Tape I taped off where I would like the stripes. Since my pillow was large I did a 2" center stripe and 1/2"on each side.
Using a dry brush I stippled the fabric paint on the drop cloth (I mixed red with a little black to get a barn red color). Remember to put either wax paper or cardboard under the cloth just in case the paint bleeds through. Before the paint completely dried I removed the Frog Tape.
Once dry place the painted side down on top of the other cut piece.
Pin the 2 together.
Sew along the edge, leaving an open area for stuffing.
Cut the corners so when you turn right side out your corners are crisp.
We are almost done. Now turn your pillow right side out. Stuff pillow. Use straight pins to hold together.
Hand stitch.
Here is the finished pillow nestled with a blanket.
I hope you've enjoyed this tutorial and thanks for stopping by!
Sharing with:


No comments:
Post a Comment